
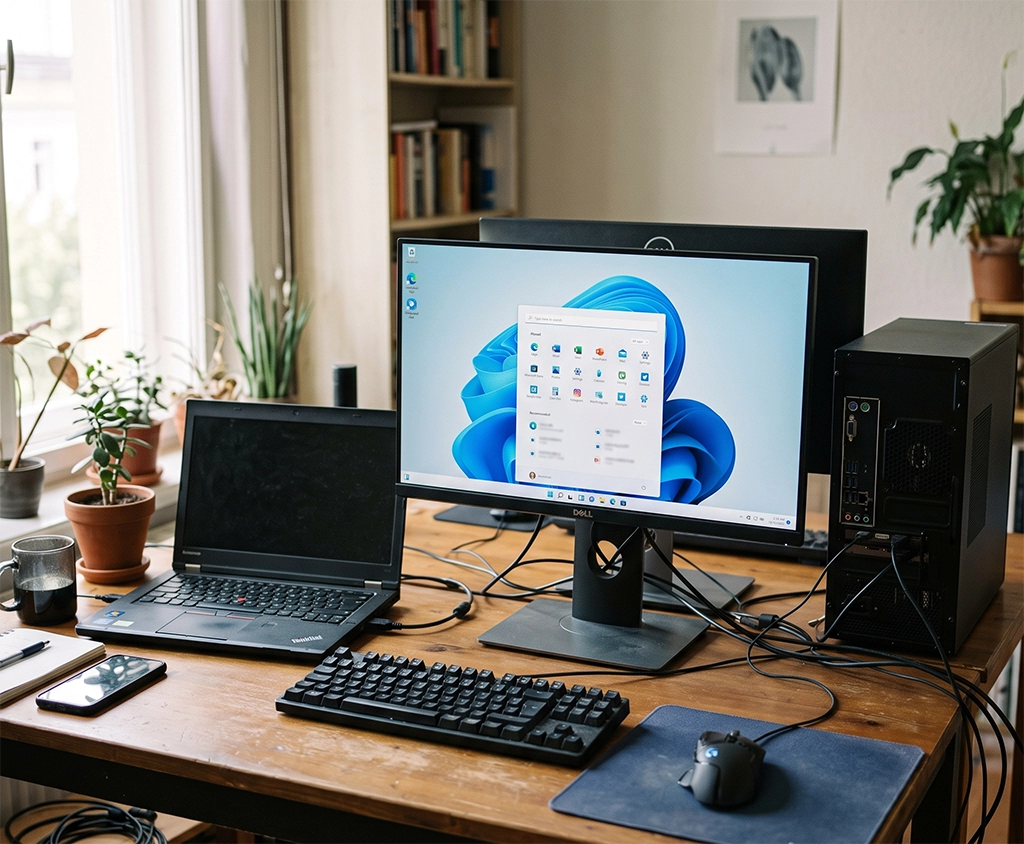
Windows 11 may feel fast when you first install it, but performance can gradually decline over time. Your computer may take longer to start, apps may open slowly, and File Explorer may stop responding as quickly as it once did.
When even a few browser tabs cause your PC to lag, you may start wondering whether it is time to replace the computer.
However, slow performance does not always mean you need a new PC. Limited storage space, excessive startup apps, background processes, outdated software, power settings, malware, and insufficient memory can all affect performance.
Instead of immediately installing a third-party optimization tool, start with the performance features already included in Windows 11.
This guide covers 10 Windows 11 settings to speed up your PC. Each method is explained step by step so that even beginners can follow along.
Before changing any settings, back up important files to an external drive or cloud storage. Change one setting at a time and check whether performance improves before moving on to the next step.
Check Your PC’s Current Performance First
Before optimizing Windows 11, check which system resource is causing the slowdown.
Press Ctrl + Shift + Esc to open Task Manager. Select the Processes tab and review the CPU, Memory, and Disk columns.
If one of these resources remains unusually high while you are not actively using the computer, an app or background process may be consuming too many system resources.
Focus on programs you recognize, such as browsers, messaging apps, game launchers, and cloud storage tools. Avoid ending an unfamiliar Windows system process, as doing so could cause errors or temporarily disable important features.
You may also want to measure your startup time. Record how long it takes from pressing the power button until the desktop is ready to use. This gives you a simple way to compare performance before and after making changes.
1. Install Windows Updates
Windows updates can include security patches, bug fixes, compatibility improvements, and performance-related changes.
Open:
Settings > Windows Update
Select Check for updates. If updates are available, save your work before downloading and installing them.
Restart your computer after the installation. Some changes do not take full effect until Windows has restarted.
Be Careful with Optional Driver Updates
You may find additional drivers under:
Settings > Windows Update > Advanced options > Optional updates
You do not need to install every optional driver.
Install one if you are experiencing a related hardware problem or if the computer manufacturer specifically recommends it. A working driver does not always need to be replaced simply because another version appears in the optional updates section.
If your PC became slower immediately after an update, open Update history and review recently installed updates and drivers.
2. Disable Unnecessary Startup Apps
Programs that launch automatically when you sign in can increase startup time and continue using memory in the background.
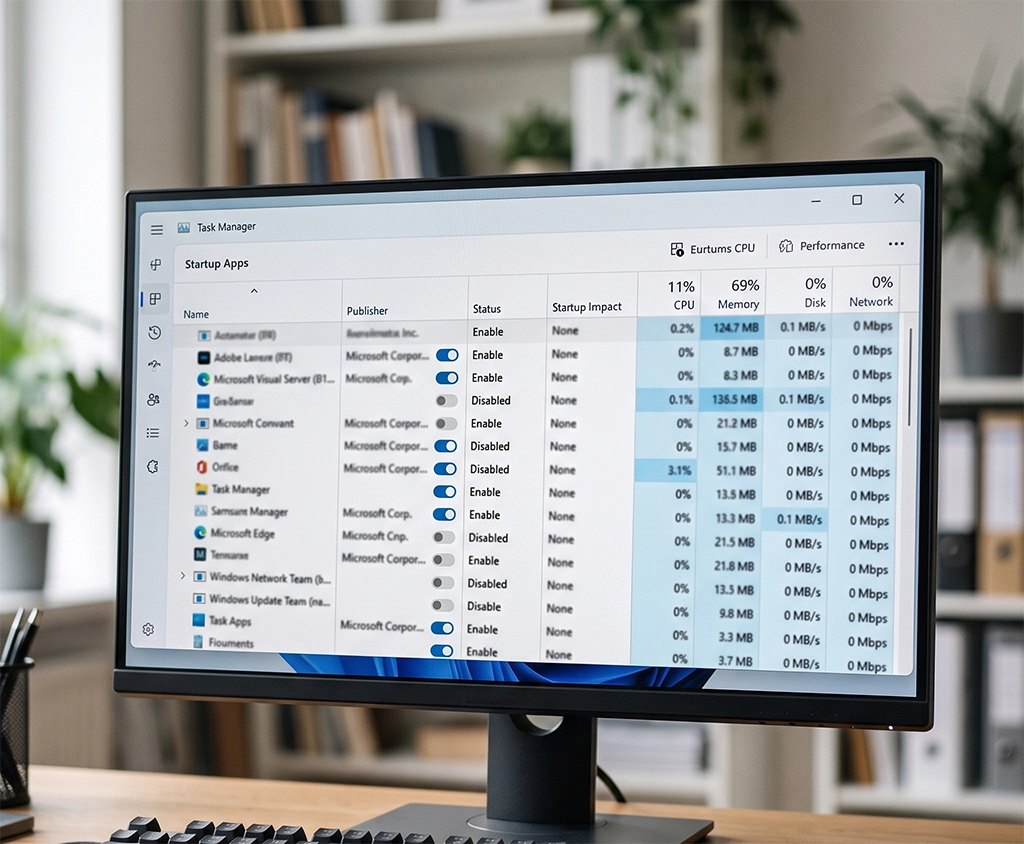
Press Ctrl + Shift + Esc to open Task Manager, then select Startup apps.
Review the Startup impact column. Apps marked as High impact are a useful place to begin.
You can usually disable automatic startup for programs such as:
- Game launchers
- Music players
- Meeting applications
- Messaging apps you do not use every day
- Software update assistants
- Optional cloud storage services
- Printer utilities you rarely use
Disabling a startup app does not uninstall it. You can still open the application manually whenever you need it.
Startup Apps You Should Not Disable Without Checking
Be careful with security software, graphics utilities, audio control tools, touchpad software, and manufacturer system applications.
Some of these programs control hardware features, keyboard shortcuts, battery charging limits, sound enhancements, or display options.
If you do not recognize an app, check its publisher and purpose before disabling it.
Managing startup apps is one of the most effective Windows 11 settings to speed up a PC that feels particularly slow after signing in.
3. Limit Background App Activity
Some applications continue running even when their windows are closed. They may check for updates, synchronize files, collect notifications, or refresh content in the background.
Open:
Settings > Apps > Installed apps
Find the app you want to manage, select its additional options, and open Advanced options if available.
Under Background apps permissions, select Never for apps that do not need to run in the background.
This option is not available for every application. Traditional desktop programs may require you to disable background activity or automatic startup from inside the program’s own settings.
Do not restrict apps that need to deliver immediate notifications or synchronize files. Email clients, messaging platforms, calendars, and cloud storage applications may not work as expected if background activity is completely disabled.
Review each app individually instead of applying the same setting to everything.
4. Use Storage Sense to Free Up Space
A nearly full system drive can cause problems with temporary files, app installations, Windows updates, and other system operations.
Open:
Settings > System > Storage
Review the storage categories to see which files and applications are using the most space.
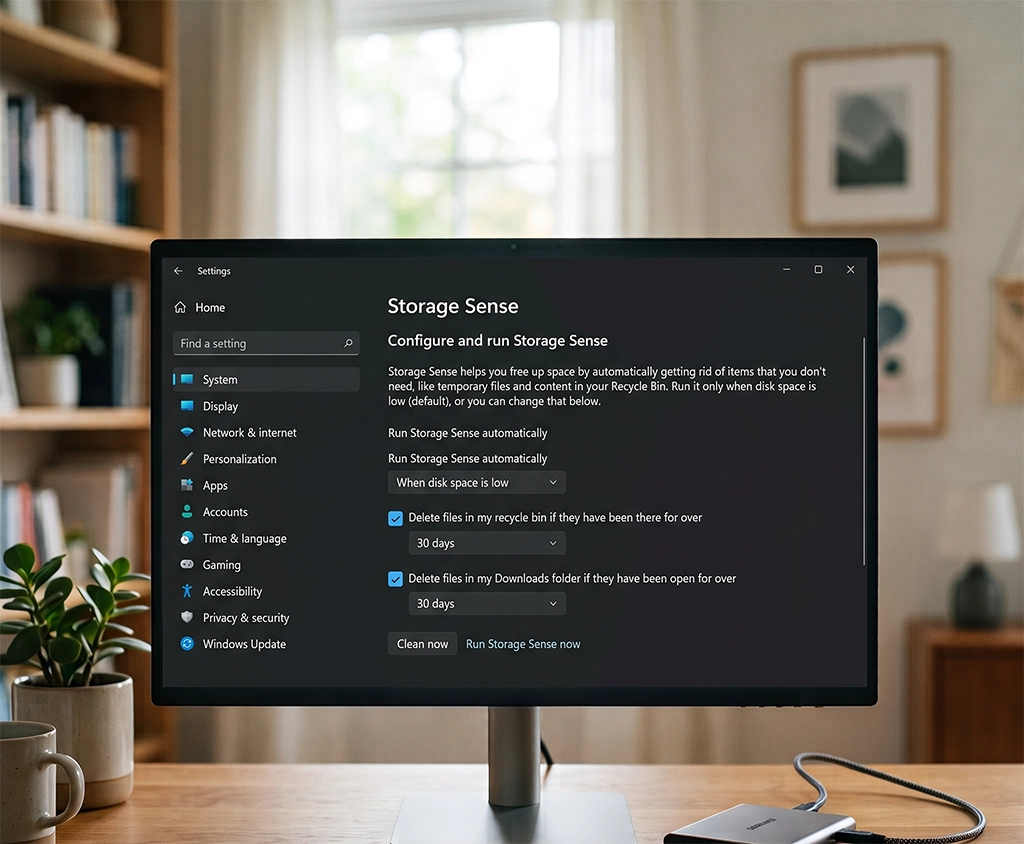
Turn on Storage Sense to automatically remove certain temporary files and items that have remained in the Recycle Bin for a selected period.
You can also open Temporary files to review files that may no longer be needed.
Do not select every item without checking it first. Some categories may contain files you still need or files that would be useful if you want to reverse a recent Windows update.
Check Download Folder Settings Carefully
Storage Sense can be configured to delete files from the Downloads folder after a specified period.
This option can accidentally remove documents, installers, photos, and other files you intended to keep.
Move important downloads to a permanent folder before enabling automatic Downloads cleanup. If you regularly store important files in the Downloads folder, leave this option disabled.
Storage Sense generally focuses on the system drive where Windows is installed. Other drives may need to be reviewed separately.
5. Uninstall Apps You No Longer Use
Unused programs take up storage space. Some also install background services, scheduled tasks, browser extensions, and automatic update tools.
Open:
Settings > Apps > Installed apps
Sort the list by size and look for programs you have not used in several months.
Possible candidates for removal include:
- Expired trial software
- Old games
- Duplicate media players
- Abandoned productivity apps
- Unused printer utilities
- Third-party toolbars
- Unknown PC cleaning programs
Select the menu next to the app and choose Uninstall.
Do Not Remove Manufacturer Utilities Without Checking
Laptop and desktop manufacturers often include applications that manage hardware-specific features.
These programs may control:
- Battery charging limits
- Cooling fan profiles
- Touchpad gestures
- Keyboard function keys
- Display color profiles
- Audio enhancements
- System recovery features
Search for the program name before removing it. If you are unsure, check the support page for your exact computer model.
Be especially cautious with unknown free optimization programs. Installing several PC cleaners can add more startup processes, advertisements, alerts, and background services, which may make the computer slower rather than faster.
6. Reduce Windows Visual Effects
Animations, transparency, shadows, and other visual effects make Windows 11 look polished, but they can use additional system resources.
Open the Start menu and search for:
Adjust the appearance and performance of Windows
Open the result and select the Visual Effects tab.
For the simplest performance-focused configuration, select Adjust for best performance.
This disables most visual effects at once.
Restore Options That Improve Readability
After choosing the best performance option, text and windows may look too basic. Font edges may also appear less smooth.
Choose Custom and re-enable features that are important for readability, such as Smooth edges of screen fonts.
You can also disable animations while keeping selected appearance settings enabled. This allows you to balance performance and visual quality.
Reducing visual effects is most useful on older laptops, computers with limited memory, and entry-level systems using integrated graphics.
7. Change the Windows 11 Power Mode
Windows 11 can limit performance to reduce energy use, particularly on laptops.
Open:
Settings > System > Power & battery
Find Power mode and review the available options.
When the laptop is connected to a power adapter, you can try Best performance for demanding work such as:
- Video editing
- Large file compression
- Software development
- Gaming
- Photo processing
- Data analysis
For everyday browsing, office work, and video streaming, Balanced is usually more practical.
Understand the Disadvantages of Best Performance Mode
Best performance mode can increase power consumption, heat, and fan noise. It can also reduce battery life.
Avoid blocking the laptop’s ventilation openings, especially when using a high-performance power mode.
If you regularly switch between mobile and desk use, select Balanced while using the battery and switch to Best performance only when the laptop is connected to power and extra performance is necessary.
If the power mode cannot be changed, the computer may be using a custom power plan. Review the available settings in Control Panel under Power Options.
8. Scan for Malware with Windows Security
Malware and unwanted programs can use CPU, memory, disk, and network resources without an obvious window appearing on the screen.
Open:
Settings > Privacy & security > Windows Security > Virus & threat protection
Run a Quick scan first.
If your computer continues behaving unusually, or if you recently opened a suspicious attachment or installer, review the available scan options.
A Full scan checks more files and may take considerably longer. A Microsoft Defender Offline scan may restart the computer, so save open documents before beginning.
Avoid running multiple real-time antivirus programs at the same time. Overlapping scans and security services may cause conflicts and increase resource usage.
If you use a third-party antivirus subscription, confirm that Microsoft Defender and the third-party program are operating in compatible modes.
9. Close Browser Tabs and Remove Unused Extensions
Sometimes Windows 11 is not the main cause of slow performance. The browser may be consuming most of the available memory.
A large number of tabs, video pages, web-based office applications, shopping websites, and browser extensions can significantly increase memory usage.
Close tabs you are no longer using. Then open your browser’s extension manager and review installed extensions.
Consider removing or disabling extensions such as:
- Shopping assistants
- Coupon finders
- Old screenshot tools
- Duplicate translation extensions
- Unknown search helpers
- Extensions you no longer recognize
- Tools that request more permissions than necessary
Check Task Manager after closing unused tabs. If browser memory usage remains unusually high, save your work, close the browser completely, and reopen it.
Make sure important forms, emails, or online documents have been saved before restarting the browser.
10. Check Whether You Need an SSD or RAM Upgrade
If you have applied all 10 Windows 11 settings to speed up your PC and performance has barely improved, hardware may be the limiting factor.
Consider Replacing an HDD with an SSD
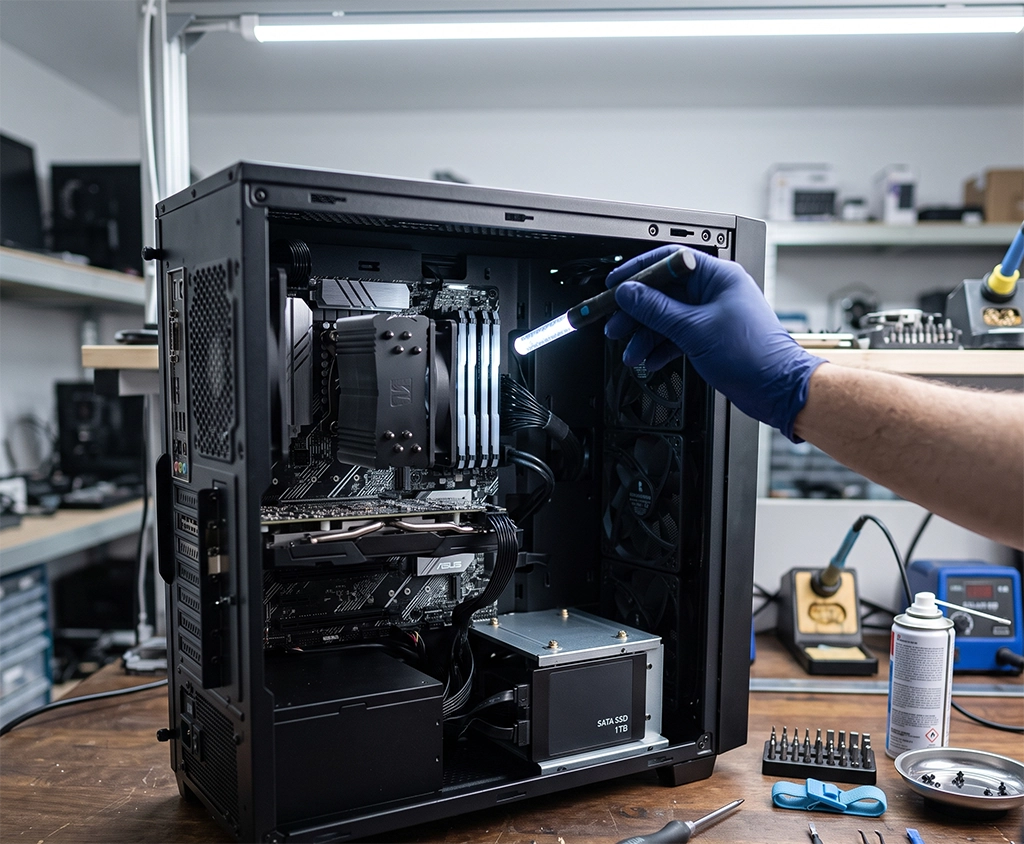
If Windows is installed on a traditional hard disk drive, upgrading to a solid-state drive can significantly improve storage-related tasks.
An SSD can make a noticeable difference in:
- Windows startup
- App launch times
- File searches
- File transfers
- Software installation
- Windows updates
Before purchasing an SSD, check whether your computer supports a 2.5-inch SATA SSD, an M.2 SATA drive, or an M.2 NVMe drive. These formats are not interchangeable in every computer.
You should also confirm the physical drive size, connector type, available slot, maximum supported capacity, and disk cloning requirements.
Check Memory Usage Before Buying RAM
Open Task Manager and select Performance > Memory.
If memory usage regularly remains close to full during normal work, adding RAM may help. The benefit is usually most noticeable when you use many browser tabs, large spreadsheets, photo editors, virtual machines, or multiple applications at once.
Adding RAM does not automatically speed up every computer. It is most useful when insufficient memory is the actual bottleneck.
Confirm the following before purchasing memory:
- Laptop or desktop memory type
- DDR generation
- Supported memory speed
- Maximum supported capacity
- Number of available slots
- Whether the memory is soldered to the motherboard
- Whether matched modules are recommended
Some thin laptops have soldered memory that cannot be upgraded. Check the technical specifications for your exact model rather than relying only on the product series name.
Check Warranty Terms Before Opening a Laptop
Upgrading a laptop may require removing the bottom cover.
Review the manufacturer’s warranty conditions before opening the device. Damage caused during an unauthorized upgrade may not be covered, even when the upgrade itself is technically supported.
If you are not comfortable working with internal components, ask the manufacturer or a reputable repair provider about compatible parts, installation fees, data backup, and warranty coverage.
Should You Buy a Windows 11 Optimization Program?
A paid PC optimization program will not solve every performance problem.
Many commonly advertised features are already available in Windows 11, including:
- Temporary file cleanup
- Startup app management
- App removal
- Storage monitoring
- Malware scanning
- Background app controls
- Performance monitoring
A third-party tool may be convenient when it combines several functions into one interface, but convenience should not be confused with guaranteed performance improvement.
Before paying for optimization software, check the following:
- Is the developer clearly identified?
- Is the program downloaded from the official website?
- Are subscription renewal terms clearly displayed?
- Is there a usable refund policy?
- Can the software be completely uninstalled?
- Does it create unnecessary background services?
- Does it pressure users to update every driver?
- Does it display alarming error counts without explaining their importance?
- Does it require payment before showing what will actually be fixed?
Be cautious with programs that report hundreds or thousands of “critical errors” immediately after installation. Registry entries and temporary files do not necessarily represent serious performance problems.
Avoid using registry cleaning as a primary optimization method. Removing the wrong registry entry can cause software or Windows features to stop working, while the performance benefit is often difficult to notice.
When to Contact a PC Repair Service
Professional support may be useful when the computer continues to freeze, restart, overheat, or produce unusual storage noises after basic optimization.
Before contacting a repair service, write down the following information:
- Exact PC or laptop model
- Installed RAM capacity
- Storage drive type
- Available space on the system drive
- Windows 11 edition and version
- When the slowdown started
- Whether the problem began after an update
- Apps that are usually running when the slowdown occurs
- Any error messages or unusual sounds
Ask the provider whether the quoted service includes diagnosis, backup, Windows reinstallation, replacement parts, labor, data migration, and post-service support.
A simple software cleanup, a full Windows reset, an SSD replacement, and data recovery are different services. Request a clear description of the work before approving additional charges.
Summary: The Best Windows 11 Settings to Improve Performance
Use the following order when optimizing a slow Windows 11 PC:
- Install Windows updates
- Disable unnecessary startup apps
- Limit background app activity
- Use Storage Sense
- Uninstall unused programs
- Reduce visual effects
- Adjust the power mode
- Scan for malware
- Close browser tabs and remove unused extensions
- Check SSD and RAM requirements
Start with the free Windows 11 performance settings before purchasing optimization software or new hardware.
Change one setting at a time, restart the computer when necessary, and repeat the same task to compare results. Measuring startup time and checking Task Manager can help you identify which changes actually make a difference.
If performance remains poor, check the computer model, installed RAM, storage type, and available disk space. With this information, you can make a more informed decision about an SSD upgrade, a RAM upgrade, professional repair, or replacing the computer.