
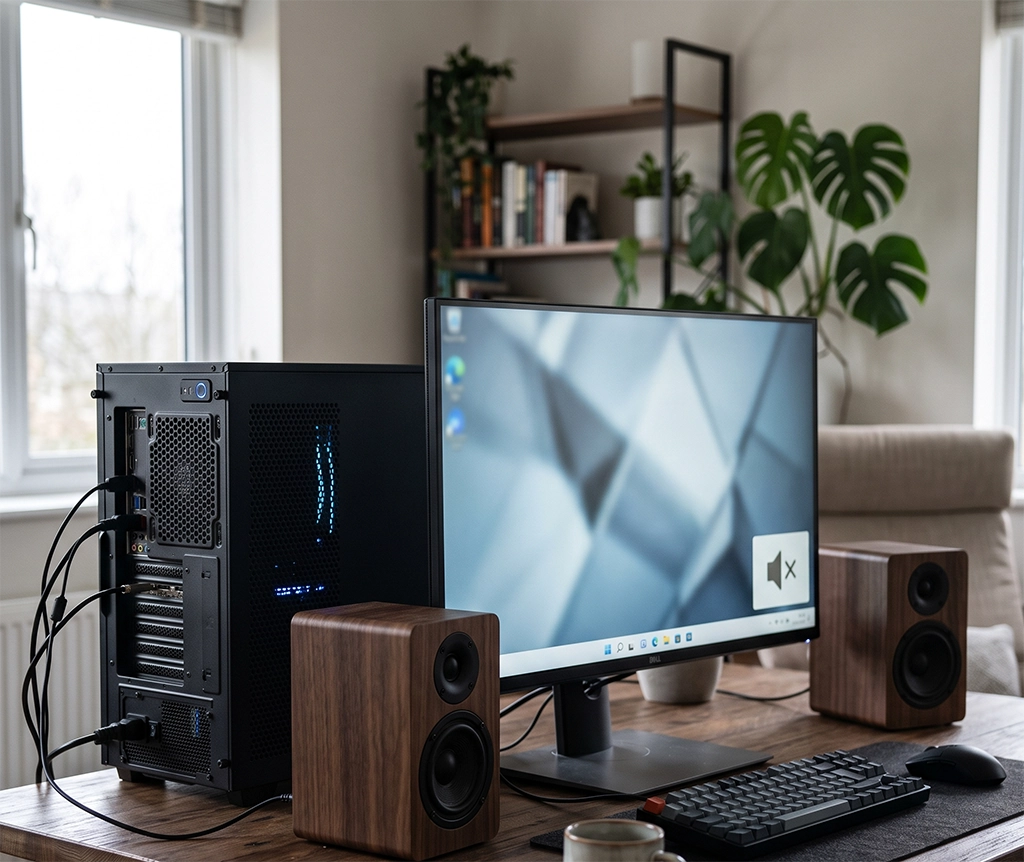
When sound suddenly stops working on a desktop computer, it is easy to assume that the speakers are broken. The problem becomes even more confusing when videos continue to play normally and the volume icon appears active, but no sound comes from the speakers or headphones.
However, a Windows 11 no sound problem does not always mean that you need new speakers or a sound card. The wrong audio output may have been selected after connecting an HDMI monitor, USB headset, or another audio device. A single application may also be muted even though the main Windows volume is turned up.
Before buying new speakers, a USB sound card, or booking a computer repair service, check the following six areas in order.
A few minutes of troubleshooting may restore the sound without replacing any hardware. Even if the problem continues, these steps can help you determine whether the cause is a Windows setting, audio driver, speaker cable, desktop audio port, or hardware failure.
1. Check the Mute Setting and App Volume
Start with the speaker icon on the right side of the Windows 11 taskbar.
Select the icon and check whether the main volume is set to zero. Look for a mute symbol next to the speaker icon and move the volume slider to a moderate level.
External desktop speakers usually have their own power switch and volume control. Windows volume can be set correctly while the physical speaker remains turned off.
Check the following items:
- Make sure the speaker power light is on.
- Turn the physical volume dial up gradually.
- Check that the speaker’s power adapter is connected.
- Confirm that headphones have not been left connected.
- Look for a separate mute button on the speaker or keyboard.
If sound is missing from only one program, the problem may be in the Windows Volume Mixer.
Go to:
Settings → System → Sound → Volume mixerFind the browser, game, video player, or meeting application that is not producing sound. Make sure its volume is turned up and that the application is not muted.
Also check the program itself. Games, media players, video conferencing apps, and streaming services often have independent volume settings.
If sound is missing from only one browser tab, right-click the tab and check whether it has been muted.
This first step is simple, but it prevents unnecessary changes to drivers and Windows audio services.
2. Select the Correct Audio Output Device
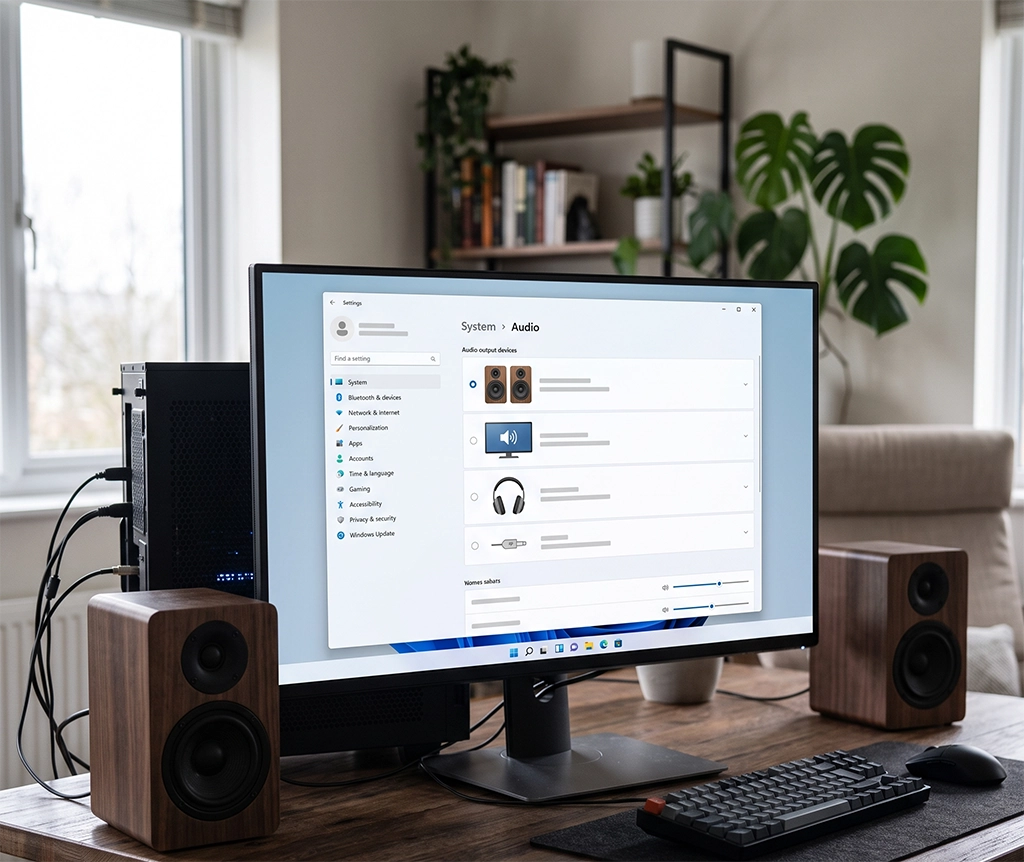
A desktop PC can have several audio output devices installed at the same time.
These may include:
- Desktop speakers connected to the motherboard
- A monitor connected through HDMI or DisplayPort
- A USB headset
- Bluetooth speakers or headphones
- A USB audio interface
- A graphics card digital audio output
Windows 11 may switch to a new output device automatically when you connect a monitor, television, headset, or USB audio product.
Select the speaker icon on the taskbar. Open the audio output list next to the volume slider and choose the device that you actually want to use.
You can also check the output through the main sound settings:
Settings → System → Sound → OutputSpeakers connected to the motherboard with a 3.5 mm cable may appear as “Speakers,” “Realtek Audio,” or a similar audio chipset name.
A monitor connected through HDMI or DisplayPort may appear under the monitor model name, graphics card name, or digital audio device.
This is particularly important if the Windows 11 sound stopped working after connecting a new monitor.
HDMI and DisplayPort can carry both video and audio. Windows may therefore select the monitor as the default audio output. If the monitor does not have built-in speakers, the picture will display normally but no sound will be heard.
Select the desktop speakers again and play a test sound. If this fixes the problem, there is no need to reinstall the audio driver or purchase new hardware.
3. Inspect the Speaker Cable and Desktop Audio Port
If the correct output device is selected, inspect the physical speaker connection.
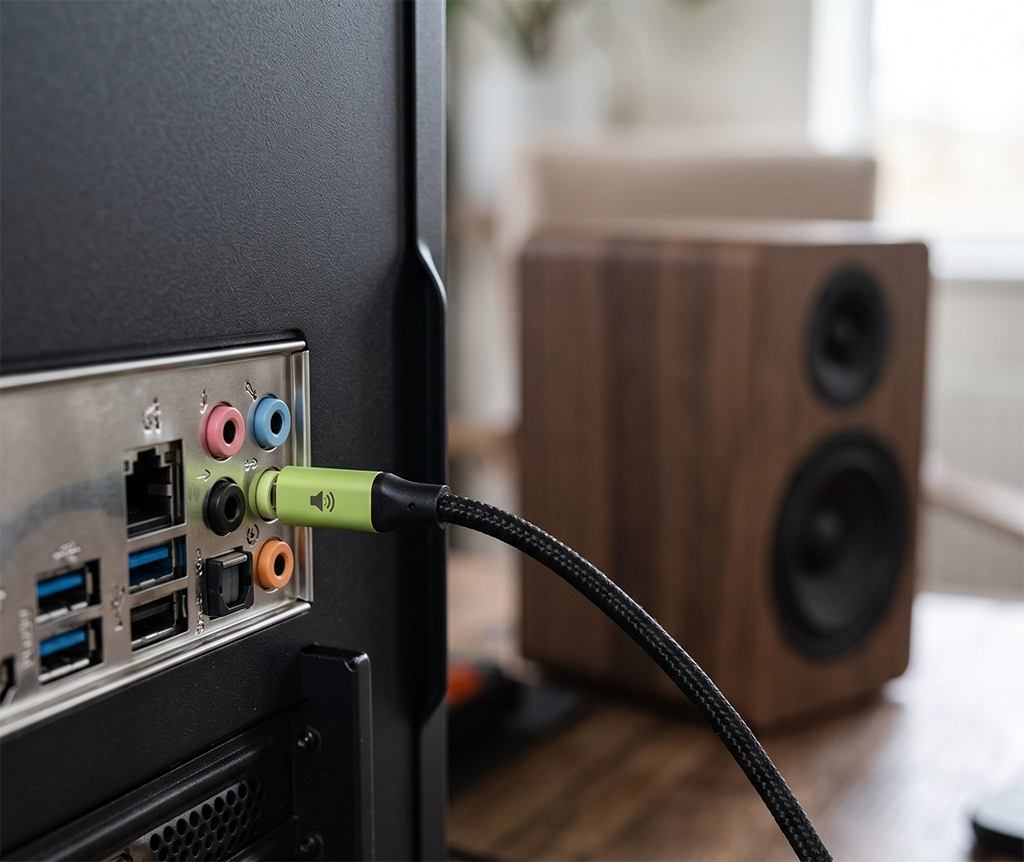
Many desktop motherboards use color-coded 3.5 mm audio ports:
- Green is commonly used for speakers or headphones.
- Pink is commonly used for microphone input.
- Blue is commonly used for line input.
The colors and functions can vary depending on the motherboard, audio configuration, and manufacturer. Check the labels next to the ports or consult the motherboard manual if the connection is unclear.
Disconnect the speaker cable and reconnect it firmly to the correct audio output port.
If the speakers are connected to the front of the desktop case, try the rear motherboard audio port. If the rear port does not work, test the front port as well.
When sound works through one port but not the other, the speakers may be functioning correctly. The issue could involve the front audio jack, motherboard connector, internal case cable, or audio management software.
For USB speakers or a USB headset, try a different USB port.
Connect the device directly to the desktop computer rather than through a USB hub. A hub may not provide a stable connection or enough power for some audio devices.
You should also test the desktop audio port with a known-working pair of headphones or another speaker.
The results can help narrow down the cause:
- If another speaker works, the original speaker or cable may be faulty.
- If no speakers work through one port, the desktop audio port may have a problem.
- If the front port works but the rear port does not, the motherboard audio output requires further inspection.
- If USB audio works but the 3.5 mm output does not, the built-in audio device or physical port may be responsible.
Check any detachable cables and speaker power adapters before replacing the entire speaker system.
4. Run the Windows 11 Audio Troubleshooter
If the cables and output device appear correct, run the Windows 11 audio troubleshooter.
Open the Start menu and search for:
Get HelpOpen the app and search for:
Audio troubleshooterFollow the on-screen instructions and allow the diagnostic process to finish.
The troubleshooter can help identify problems related to:
- The currently selected audio output
- Disabled audio devices
- Volume and mute settings
- Audio drivers
- Windows audio services
- Common playback errors
When the troubleshooting process is complete, return to:
Settings → System → SoundSelect the active output device and use the available test option.
Do not test the sound with only one YouTube video, game, or application. Play a Windows test sound and try more than one program.
If the Windows test sound works but a specific program remains silent, the problem is probably related to that program’s volume, output selection, or internal sound settings.
If no Windows test sound plays, continue to the next step.
5. Disable Audio Enhancements and Restart Audio Services
Audio enhancements can improve sound on compatible equipment, but they may cause conflicts with some speakers, drivers, audio interfaces, and applications.
Go to:
Settings → System → SoundSelect the output device you are currently using. Find the audio enhancements setting and temporarily set it to “Off.”
Test the sound again.
If you recently changed the spatial audio option or default audio format, return those settings to their defaults. Unsupported formats and unstable enhancement features may cause silence, distortion, or intermittent playback.
If Windows 11 still has no sound, restart the Windows audio services.
Follow these steps:
- Press the Windows and R keys together.
- Enter
services.mscin the Run window. - Find “Windows Audio.”
- Right-click it and select “Restart.”
- Find “Windows Audio Endpoint Builder.”
- Right-click it and select “Restart.”
- Test the sound again.
Restarting these services can restore sound when an audio component has stopped responding temporarily.
If the restart option is unavailable, check whether the service is running. Avoid changing the startup type unless you understand how the desktop has been configured.
A company-managed computer may prevent users from changing services or installing drivers. In that situation, contact the organization’s IT administrator before making further changes.
6. Update or Reinstall the Audio Driver
If the previous steps do not solve the problem, check the audio driver in Device Manager.
Right-click the Start button and select:
Device ManagerExpand:
Sound, video and game controllersA desktop PC may display several devices, including:
- Realtek Audio
- High Definition Audio Device
- Intel Display Audio
- NVIDIA High Definition Audio
- AMD High Definition Audio Device
- USB Audio Device
These devices do not necessarily perform the same function.
Realtek Audio or a similar motherboard audio device commonly manages the 3.5 mm ports on the front or rear of the desktop computer.
Intel, NVIDIA, or AMD digital audio devices are commonly associated with audio transmitted through HDMI or DisplayPort. These devices may be required when sound should come from a monitor or television.
Check for Windows updates
Before manually removing a driver, go to:
Settings → Windows Update → Check for updatesInstall available updates and restart the computer.
Also check whether an audio driver is available under the optional updates section:
Settings → Windows Update → Advanced options → Optional updatesRestart the desktop after installing a driver update, even if Windows does not immediately request it.
Update the driver through Device Manager
Open Device Manager and right-click the relevant audio device.
Select:
Update driver → Search automatically for driversFollow the instructions and restart the computer.
If Windows reports that the best driver is already installed, the desktop or motherboard manufacturer may still offer a newer or more suitable driver.
Download the manufacturer’s audio driver
For a prebuilt desktop, use the complete computer model number to find the correct driver on the manufacturer’s official support website.
For a custom-built desktop, identify the motherboard model and visit the motherboard manufacturer’s official support page.
Download the Windows 11 audio driver for the correct model and system architecture.
Avoid generic driver download websites and aggressive automatic driver update utilities. An incorrect driver may cause more audio problems or install unwanted software.
Reinstall the audio driver
If updating the driver does not work, reinstalling it may repair corrupted or incomplete driver files.
Before removing anything, download the correct replacement driver and save it locally or on a USB flash drive.
Then follow these steps:
- Open Device Manager.
- Expand “Sound, video and game controllers.”
- Right-click the relevant audio device.
- Select “Uninstall device.”
- Carefully read any option related to removing the driver package.
- Restart the desktop computer.
- Allow Windows to detect the audio device again.
- Install the manufacturer’s driver if Windows does not restore it correctly.
Do not uninstall every audio device at the same time. Identify whether you are troubleshooting motherboard speakers, HDMI audio, a USB headset, or another output before removing a driver.
Roll back the audio driver after an update
If the Windows 11 no sound problem began immediately after an update, the newly installed driver may be incompatible with the desktop’s audio hardware.
In Device Manager, right-click the audio device and select “Properties.” Open the “Driver” tab and check whether “Roll Back Driver” is available.
If the option is active, returning to the previous driver may restore the sound. The option may be unavailable when Windows has no previous driver package stored.
Should You Buy New Speakers or a Sound Card?
A Windows 11 sound problem does not automatically mean that new audio equipment is necessary. Test another device first so that you can identify where the failure occurs.
If another pair of headphones or speakers works through the same port, the original speaker system may have a damaged cable, power adapter, or internal amplifier.
If the rear desktop audio port works but the front port does not, replacing the speakers is unlikely to solve the problem. The front audio jack, internal case cable, or motherboard header may require inspection.
If a USB audio adapter works while the built-in motherboard output remains silent, the onboard audio controller, driver, or physical port may be responsible.
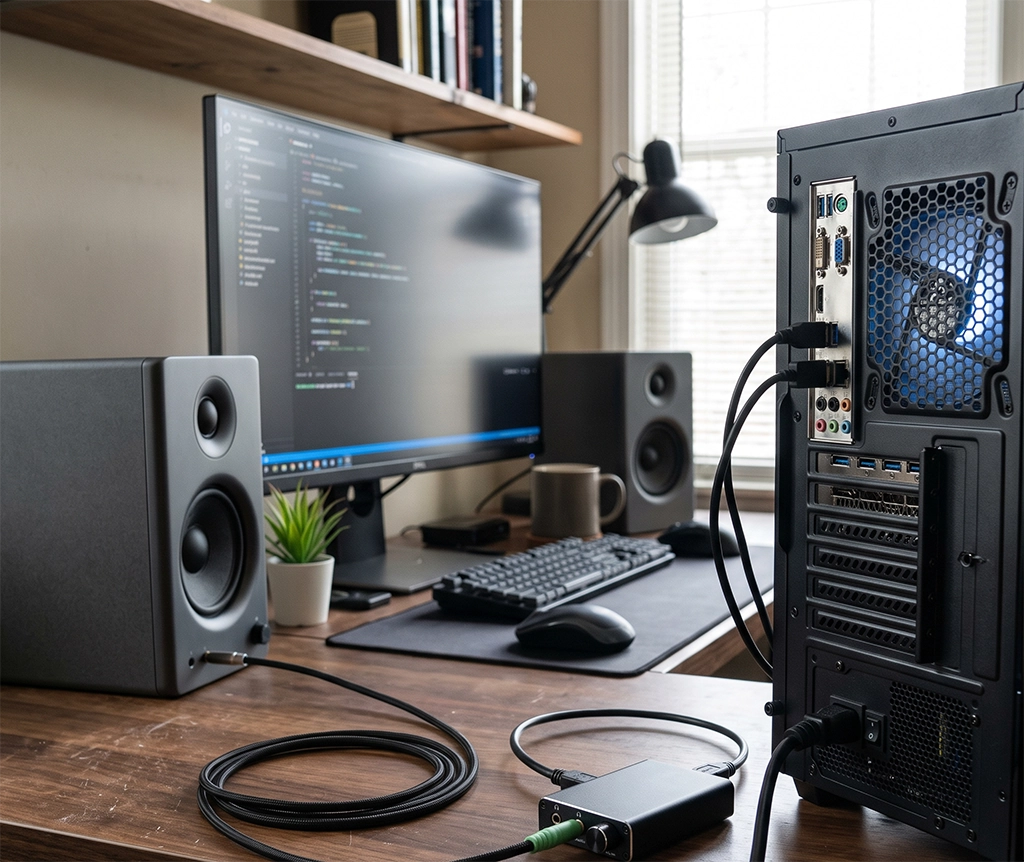
USB sound card
A USB sound card is easy to connect and does not require opening the desktop case. It can serve as both a temporary solution and a diagnostic tool.
Before purchasing one, check:
- Windows 11 compatibility
- Headphone and microphone connections
- USB-A or USB-C connector type
- Sample rate and bit depth support
- Separate headphone and microphone ports
- Driver requirements
A basic USB audio adapter may be enough for office use, online meetings, videos, and general listening. Music production, studio microphones, and high-impedance headphones may require a dedicated USB audio interface instead.
PCIe sound card
A PCIe sound card is installed in an available expansion slot inside the desktop computer.
Before choosing one, verify:
- An available PCIe slot
- Windows 11 driver availability
- Clearance around the graphics card
- Required audio inputs and outputs
- Case accessibility
- Internal power requirements, if applicable
A PCIe sound card can provide a permanent replacement for failed onboard audio, but installation requires opening the computer case.
If the desktop is still under warranty, contact the manufacturer before installing an internal card or attempting a motherboard repair.
Replacement desktop speakers
When purchasing new speakers, do not compare only output power.
Check whether the connection method matches the computer:
- 3.5 mm analog audio
- USB audio
- Bluetooth
- Optical digital audio
- HDMI or HDMI ARC
Most desktop PCs can use standard 3.5 mm or USB speakers. Optical and HDMI ARC connections may require compatible motherboard outputs, monitors, televisions, receivers, or additional equipment.
When to Contact a Repair Service
Consider contacting the desktop manufacturer, motherboard manufacturer, or a computer repair provider when:
- The audio device repeatedly disappears from Device Manager.
- Several known-working speakers and headphones produce no sound.
- The rear audio port is loose or physically damaged.
- A USB sound card works but the built-in audio output does not.
- Audio stopped working after a power surge or lightning strike.
- The front audio jack stopped working after a motherboard replacement.
- Windows cannot detect the onboard audio device.
- The correct manufacturer driver will not install.
- Company security policies prevent driver or service changes.
Before requesting support, record the following information:
- The desktop or motherboard model
- The selected Windows audio output
- The type of speaker connection
- Device Manager screenshots
- Any warning symbol or device error code
- Whether HDMI or DisplayPort is connected
- Whether headphones or a USB audio adapter work
- The changes already attempted
Do not simply report that “the sound does not work.” Detailed information can help the technician distinguish between a speaker failure, damaged port, driver problem, HDMI output issue, and motherboard audio fault.
Summary: 6 Things to Check When Windows 11 Has No Sound
When Windows 11 has no sound on a desktop PC, check these six areas in order:
- Check the main volume, mute status, and app-specific volume.
- Select the correct audio output device.
- Inspect the speaker power, cable, and desktop audio port.
- Run the Windows 11 audio troubleshooter.
- Disable audio enhancements and restart Windows audio services.
- Update, reinstall, or roll back the audio driver.
Following this order can prevent unnecessary purchases and repairs.
A simple output selection error should not result in buying new speakers. A damaged front audio port does not always mean that the motherboard must be replaced. An HDMI monitor selected as the default output can often be corrected in a few seconds.
If the problem continues after completing every step, take screenshots of the Sound settings and Device Manager before contacting the desktop manufacturer or a computer repair service. Clear troubleshooting details can lead to a faster and more accurate diagnosis.
Frequently Asked Questions
Why does Windows 11 show volume activity but produce no sound?
Windows may be sending audio to the wrong output device. This often happens after connecting an HDMI monitor, television, USB headset, or Bluetooth speaker. Open the output device list and select the speakers you actually want to use.
Why did my desktop lose sound after connecting an HDMI monitor?
HDMI can carry both video and audio. Windows 11 may automatically set the monitor as the default audio output. If the monitor has no built-in speakers, select the motherboard speakers or another output device in the Sound settings.
Why are my speakers not listed in Windows 11?
The speakers may be disabled, disconnected, or missing a suitable driver. Check Device Manager, display hidden devices, scan for hardware changes, and install the correct driver from the desktop or motherboard manufacturer.
Will reinstalling the audio driver delete my files?
Reinstalling an audio driver does not delete personal documents, photos, or installed applications. However, removing the wrong device or driver package may create additional hardware issues, so download the correct replacement driver before uninstalling anything.
How do I know whether my desktop audio port is broken?
Connect a known-working pair of headphones or speakers to the port. Test both the front and rear outputs. If USB audio works but the built-in analog ports do not, the onboard audio device, driver, or physical port may need further inspection.
Is a USB sound card a good solution?
A USB sound card can be a practical temporary or permanent solution when the motherboard audio port does not work. Choose one that supports Windows 11 and provides the required speaker, headphone, and microphone connections.