
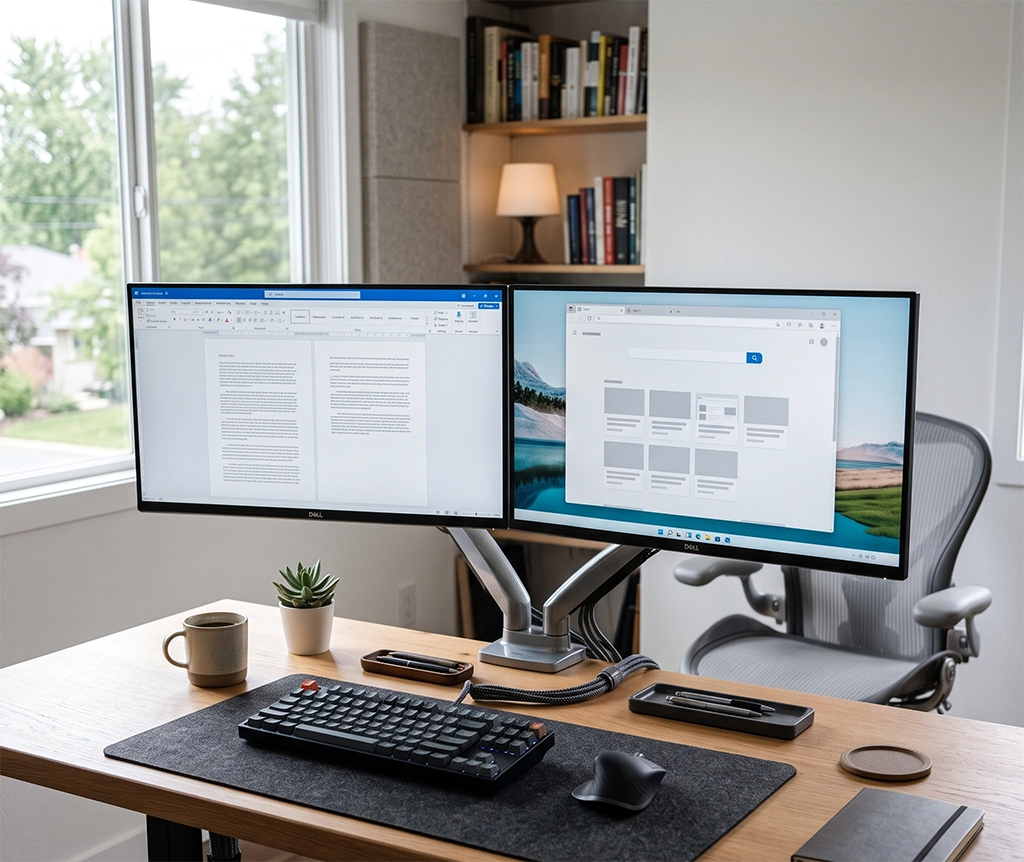
Connecting a second monitor should be simple, but it does not always work as expected. You may see the same image on both screens, find that the second monitor remains blank, or notice that the mouse moves in the wrong direction between displays.
In many cases, these Windows 11 dual monitor setup problems are caused by an incorrect input source, an incompatible cable, the wrong projection mode, or a display arrangement that does not match the physical position of the monitors.
Even if both displays turn on, the setup is not necessarily complete. You still need to arrange the displays, select the main monitor, adjust resolution and scaling, and confirm that each screen is using the correct refresh rate.
This complete guide explains how to connect dual monitors to a Windows 11 desktop or laptop, configure the extended desktop, and resolve common problems such as a second monitor not being detected.
Check Your Hardware Before Setting Up Dual Monitors
Before connecting the monitors, check which video ports are available on your computer and displays.
Desktop computers commonly use HDMI and DisplayPort. Laptops may have HDMI, USB-C, Thunderbolt, or a combination of these connections.
However, not every USB-C port supports video output. A USB-C port may be designed only for charging and data transfer.
Check the laptop specifications for the following features:
- DisplayPort Alt Mode
- Thunderbolt support
- External display output over USB-C
- Maximum number of supported external monitors
- Maximum external resolution
- Supported refresh rate
- USB Power Delivery support
A DisplayPort or lightning symbol beside the USB-C port may help identify its capabilities, but symbols are not always consistent between manufacturers. Check the specifications or user manual for the exact laptop model before purchasing an adapter or docking station.
Connecting Dual Monitors to a Desktop PC
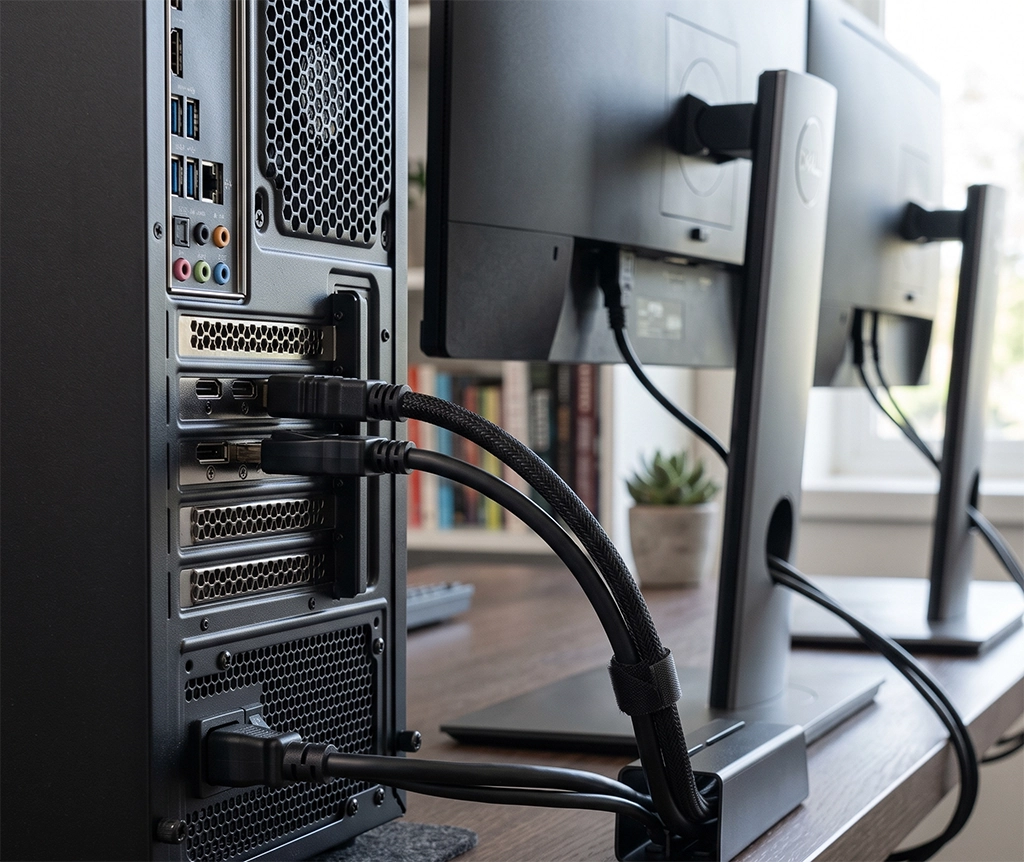
If your desktop computer has a dedicated graphics card, connect both monitors to the video outputs on the graphics card.
Avoid connecting one monitor to the graphics card and another to the motherboard unless you have confirmed that the processor has integrated graphics and that simultaneous integrated graphics output is enabled in the BIOS or UEFI settings.
A graphics card may have one HDMI port and several DisplayPort connections. In that case, one monitor can use HDMI while the second uses DisplayPort.
If a monitor only has HDMI but the graphics card has an available DisplayPort output, you may need a DisplayPort-to-HDMI cable or adapter. Check the conversion direction, maximum resolution, and supported refresh rate before buying one.
Connecting Dual Monitors to a Laptop
A laptop with one HDMI output can usually connect directly to one external monitor.
To connect two external displays, you may need a USB-C hub or docking station. The laptop’s USB-C port must support video output unless the dock uses DisplayLink technology.
Do not choose a docking station based only on the number of HDMI or DisplayPort connections. Compare the following specifications:
- Maximum resolution with one monitor
- Maximum resolution with two monitors
- Supported refresh rate for simultaneous output
- DisplayPort Alt Mode compatibility
- DisplayLink support and driver requirements
- USB Power Delivery wattage
- Windows 11 compatibility
- Support for extended displays rather than mirroring only
A docking station may have two HDMI ports but still be unable to run two 4K displays at 60Hz. Always check the specifications for simultaneous dual-display output.
HDMI vs DisplayPort for Dual Monitors
For standard office use with FHD resolution at 60Hz, either HDMI or DisplayPort will usually be sufficient.
For QHD, 4K, ultrawide, or high-refresh-rate monitors, the connection standard becomes more important. The monitor, graphics card, port, cable, adapter, and docking station must all support the required bandwidth.
DisplayPort is commonly used with desktop graphics cards and high-refresh-rate monitors. HDMI is widely available on laptops, televisions, and general-purpose monitors.
The shape of a connector does not reveal its full capabilities. Two HDMI ports may support different versions and maximum refresh rates.
When buying a cable, confirm that it supports your required combination, such as:
- 1920 × 1080 at 144Hz
- 2560 × 1440 at 144Hz
- 3840 × 2160 at 60Hz
- 3840 × 2160 at 120Hz
- HDR output
- Variable refresh rate
Avoid relying only on labels such as “8K cable.” Check the published resolution and refresh-rate specifications.
Connect the Monitors and Select the Correct Input
If possible, turn off the computer and monitors before connecting the cables.
Connect each monitor to an available video output on the computer. Turn on the monitors first, then start the PC and wait for Windows 11 to load.
If a monitor displays a “No Signal” message, open the monitor’s on-screen menu and check the input source.
For example, if the cable is connected to HDMI 2, select HDMI 2 as the monitor input. If you are using DisplayPort, choose DisplayPort.
Automatic input detection does not always work correctly. Selecting the input manually can resolve a blank screen even when the cable is connected properly.
How to Extend Dual Monitors in Windows 11
After connecting both monitors, press Windows key + P.
Windows 11 displays four projection options:
- PC screen only: Uses only the primary display
- Duplicate: Shows the same content on both screens
- Extend: Combines the displays into a larger desktop
- Second screen only: Uses only the external display
Select Extend for a typical dual-monitor workspace.
Extended mode allows you to place a document on one monitor and a browser, email client, messaging app, or video meeting on the other.
Duplicate mode is more suitable for presentations, classrooms, meetings, or situations where another person needs to see the same content.
To move the active window quickly between displays, press Windows key + Shift + Left Arrow or Right Arrow.
Identify the Monitor Numbers
Right-click an empty area of the desktop and select Display settings.
You can also open:
Settings > System > Display
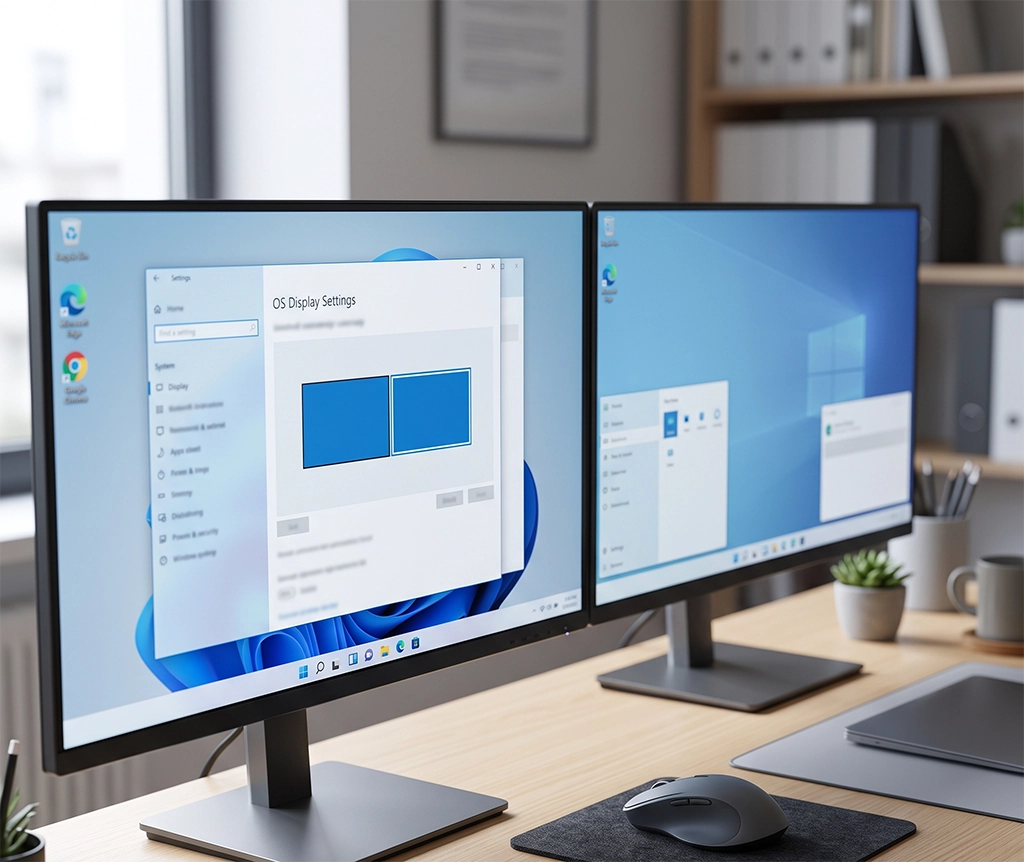
Windows displays two numbered rectangles representing the connected monitors. Select Identify to show a large number on each physical screen.
The numbers do not indicate monitor quality or priority. They only help you match each physical monitor to its position in Windows.
Arrange the Displays Correctly
The arrangement in Windows must match the physical position of the monitors on your desk.
If the physical secondary monitor is on the right, its numbered rectangle should also be positioned on the right in Display settings.
Drag the monitor rectangles into the correct positions and select Apply.
You can also adjust their vertical alignment. This is useful when the monitors have different sizes or are installed at different heights.
Incorrect alignment can cause the mouse pointer to move between screens only at certain points. It may also appear to jump upward or downward when crossing the display boundary.
After applying the settings, move the mouse between the two screens several times to confirm that the transition feels natural.
Change the Main Monitor in Windows 11
The main display influences the default taskbar position, desktop icons, notification area, and the opening position of some applications.
Open:
Settings > System > Display
Select the monitor you want to use as the main display. Expand Multiple displays and enable Make this my main display.
For gaming, choose the monitor with the highest refresh rate and best response time as the main display.
For office work, the monitor positioned directly in front of you should usually be the main screen. This reduces neck movement and makes frequently used programs easier to manage.
Some applications may continue to open on the previous display after the change. Move the application to the preferred monitor, close it without maximizing it, and open it again. Many programs remember their last window position.
Set the Correct Display Resolution
Each monitor normally looks sharpest at its native or recommended resolution.
Common monitor resolutions include:
- FHD: 1920 × 1080
- QHD: 2560 × 1440
- 4K UHD: 3840 × 2160
Open Settings > System > Display and select the monitor you want to adjust.
Under Display resolution, choose the option marked Recommended.
Using a lower resolution than the monitor’s native setting can make text and images look blurred. It can also distort the aspect ratio if the selected resolution does not match the display.
Using Monitors with Different Resolutions
Windows 11 can use monitors with different resolutions.
For example, you can combine an FHD monitor with a 4K monitor. However, text, buttons, icons, and windows may appear physically smaller on the higher-resolution screen.
Do not automatically lower the 4K monitor to FHD. Instead, keep the recommended resolution and adjust display scaling separately.
A practical starting point might be:
- 24-inch FHD monitor: 100% scaling
- 27-inch QHD monitor: 100% or 125% scaling
- 27-inch 4K monitor: 150% scaling
- 32-inch 4K monitor: 125% or 150% scaling
These are starting points rather than fixed rules. Choose the setting that keeps text comfortable to read without reducing usable workspace excessively.
Adjust Scaling on Each Monitor
Open Settings > System > Display and select one monitor.
Under Scale, choose an appropriate percentage. Repeat the process for the second monitor.
Windows 11 allows different scaling values for each display.
To compare scaling:
- Open the same webpage or document on both screens.
- Compare the physical size of the text and buttons.
- Increase scaling on the screen where everything appears too small.
- Move a window between the monitors.
- Check whether the change in size is comfortable.
Some applications may look blurry immediately after changing the scaling value. Close and reopen the affected program.
Older desktop applications may require you to sign out or restart Windows before the new scaling setting is applied correctly.
Set Up a Vertical Monitor
A vertical monitor is useful for coding, reading long documents, browsing webpages, viewing chat windows, and editing portrait photographs.
First, confirm that the monitor stand or monitor arm supports pivot rotation.
Physically rotate the monitor, then open:
Settings > System > Display
Select the rotated monitor. Under Display orientation, choose Portrait.
If the image appears upside down, select the opposite portrait orientation.
Check that the HDMI, DisplayPort, power, and USB cables are not stretched or sharply bent after rotating the screen.
Change the Refresh Rate
A 144Hz or 165Hz monitor may run at only 60Hz after being connected.
To change the refresh rate, open:
Settings > System > Display > Advanced display
Select the correct monitor at the top of the page. Under Choose a refresh rate, select the desired option.
A higher refresh rate makes scrolling and motion appear smoother. It is particularly useful for gaming, animation, and fast-moving content.
The available settings depend on the monitor, graphics card, resolution, connection type, cable, adapter, and docking station.
Why Is a 144Hz Monitor Limited to 60Hz?
Check the following items:
- Whether the monitor supports 144Hz at the selected resolution
- Whether the graphics output supports the required bandwidth
- Whether the cable supports the required resolution and refresh rate
- Whether an adapter is limiting the signal
- Whether the USB-C hub or docking station is limited to 60Hz
- Whether a high-refresh-rate mode must be enabled in the monitor menu
- Whether the graphics driver is installed correctly
If selecting a higher refresh rate automatically lowers the resolution, the current connection may not support both values at the same time.
Try connecting the monitor directly to the graphics card or laptop instead of passing the signal through a hub, dock, extension cable, KVM switch, or adapter.
Configure HDR on Dual Monitors
HDR requires compatible hardware across the entire connection.
The monitor, computer, graphics output, cable, and selected resolution and refresh rate must support the required HDR mode.
Open:
Settings > System > Display
Select the HDR-compatible monitor, open HDR settings, and enable Use HDR.
If only one of the two monitors supports HDR, enable HDR for that display only.
An HDR monitor and an SDR monitor may show noticeably different brightness, whites, colours, and contrast. This does not necessarily indicate that either display is defective.
If documents and websites look washed out or grey, turn HDR off temporarily and compare the result.
For accurate photo or video work, also check the monitor’s colour mode, white point, brightness, supported colour gamut, and calibration options.
Configure the Taskbar on Multiple Displays
Windows 11 can display the taskbar on all monitors or only on the main screen.
Open:
Settings > Personalization > Taskbar > Taskbar behaviours
Enable Show my taskbar on all displays if you want taskbar controls on each screen.
Displaying the taskbar on both monitors is convenient when you regularly use applications on the secondary display.
If the second monitor is primarily used for full-screen video, photo previews, or monitoring dashboards, keeping the taskbar only on the main display can provide more usable space.
Make Windows Remember Window Positions
Windows 11 can remember the positions of application windows based on the connected monitors.
Open:
Settings > System > Display > Multiple displays
Enable Remember window locations based on monitor connection.
This setting is useful for laptop users who regularly connect and disconnect a docking station.
You can also configure Minimize windows when a monitor is disconnected. This helps prevent open windows from remaining outside the visible desktop after removing an external monitor.
Fix a Second Monitor Not Detected in Windows 11
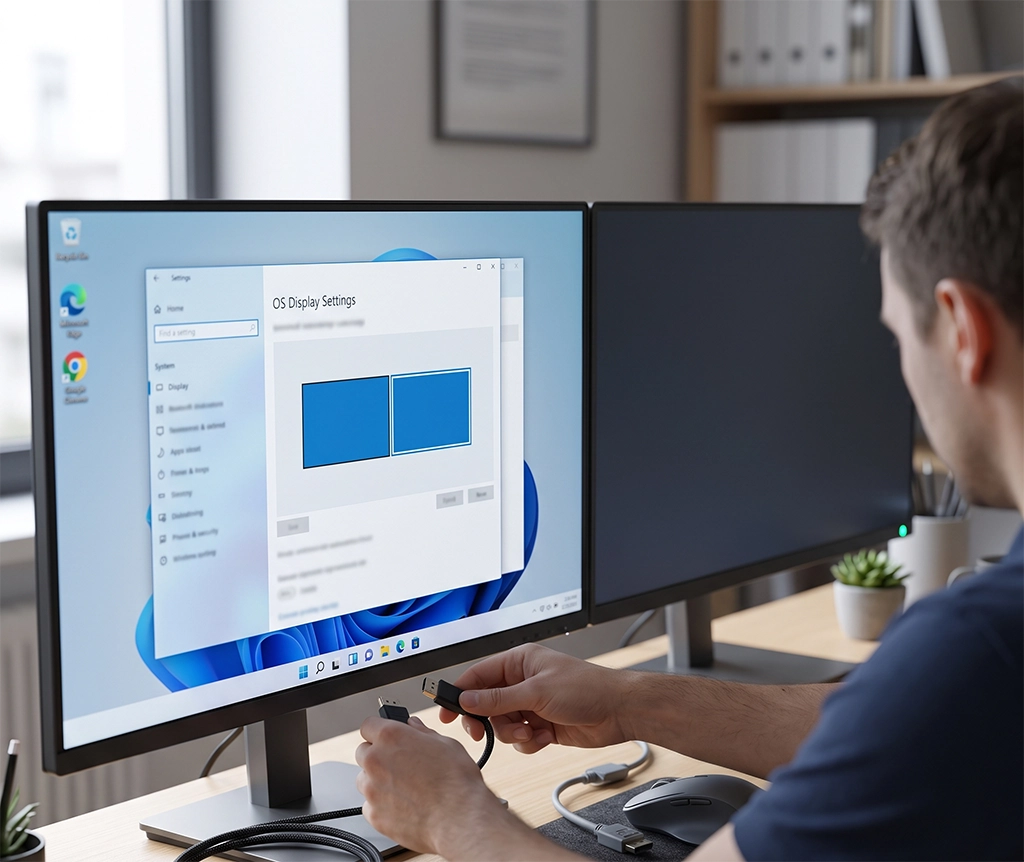
If the second monitor does not appear in Display settings, work through the following steps in order.
1. Check the Monitor Power
Confirm that the monitor power indicator is on.
If there is no power, inspect the power cable, external power adapter, power strip, and monitor power button.
2. Check the Input Source
If the monitor shows “No Signal,” open its on-screen menu.
Select HDMI when using an HDMI connection or DisplayPort when using a DisplayPort connection.
If the monitor has multiple HDMI inputs, select the exact port being used.
3. Reconnect the Video Cable
Turn off the monitor and computer.
Disconnect the cable at both ends, inspect the connectors, and reconnect it firmly.
Test with a cable that is known to work. A cable can look undamaged but still suffer from an internal fault or insufficient bandwidth.
4. Detect the Monitor Manually
Open:
Settings > System > Display > Multiple displays
Select Detect.
This instructs Windows 11 to search again for a connected display that was not detected automatically.
5. Test Another Video Output
If the graphics card has several outputs, try another HDMI or DisplayPort connection.
You can also connect a known working monitor and cable to the suspected port. This helps determine whether the problem is related to the monitor, cable, or graphics output.
6. Remove the Hub or Docking Station
If the monitor is connected through a USB-C hub or docking station, connect it directly to the laptop.
If the direct connection works, investigate the dock’s compatibility, power supply, firmware, drivers, and maximum display specifications.
For a DisplayLink dock, confirm that the required DisplayLink driver is installed and compatible with the current Windows 11 version.
7. Restart the Graphics Driver
Press:
Windows key + Ctrl + Shift + B
The screen may turn black briefly and you may hear a notification sound. This restarts the graphics driver without requiring a full PC restart.
Save open documents before using the shortcut.
8. Install Windows Updates
Open Settings > Windows Update and check for updates.
Install available updates, restart the computer, and test the second monitor again.
9. Update or Reinstall the Graphics Driver
Use Device Manager or the official graphics management software for the installed GPU.
Common applications include:
- NVIDIA App
- AMD Software: Adrenalin Edition
- Intel Graphics Software
If the problem began immediately after a driver update, consider using Device Manager to roll back to the previous driver.
Avoid downloading graphics drivers from unknown third-party driver websites.
10. Cross-Test the Hardware
Connect the problem monitor to another computer.
Alternatively, connect a known working monitor to the current PC.
This process helps identify whether the fault is associated with the monitor, cable, adapter, docking station, or computer output.
Fix a Flickering Second Monitor
If one display repeatedly flickers, turns black, or disconnects, begin by checking the refresh rate and available connection bandwidth.
Open Advanced display settings and reduce the affected monitor from 144Hz to 120Hz or 60Hz.
If the flickering stops, the cable, adapter, port, hub, dock, or KVM switch may not support the previous resolution and refresh-rate combination reliably.
Temporarily disable HDR and variable refresh rate to compare the results.
Remove extension cables and adapters where possible. Connect the monitor directly to the computer.
Also inspect the monitor’s power cable and power strip. An unstable power connection can cause the monitor to turn off even when the video cable is working correctly.
Fix the Mouse Moving in the Wrong Direction
If you need to move the mouse left to reach a monitor physically located on the right, the Windows display arrangement is reversed.
Open Settings > System > Display.
Drag the numbered monitor rectangles into the same order as the physical screens.
Match their vertical positions as closely as possible, select Apply, and test the mouse movement again.
Fix Applications Opening on the Wrong Monitor
First, set the preferred screen as the main display.
Move the affected application to the preferred monitor. Restore it to a window instead of leaving it maximized, close it, and reopen it.
Many applications remember the most recent window position.
Games and professional software may include a separate monitor selection inside their own display settings. Check both the Windows main-display setting and the application’s internal monitor option.
Recommended Dual Monitor Settings by Use
Office and Productivity
Place your primary document, spreadsheet, or business application on the monitor directly in front of you.
Use the secondary monitor for a browser, email, Microsoft Teams, Outlook, reference material, or monitoring tools.
Adjust scaling so that text has a similar physical size on both screens.
Programming and Research
A portrait-oriented secondary monitor can display more lines of code, documentation, terminal output, or long webpages.
A VESA-compatible monitor arm makes it easier to adjust height, viewing distance, and rotation.
Before buying an arm, check the monitor’s VESA mounting pattern, weight, and the arm’s maximum supported load.
Gaming
Set the high-refresh-rate monitor as the main display.
Confirm that the game is using the correct monitor, resolution, and refresh rate. Full-screen applications may use a separate display selection from the Windows desktop setting.
Place voice chat, streaming controls, game guides, or hardware monitoring tools on the secondary display.
Photo and Video Editing
Use the monitor with better colour performance as the main editing display.
Two monitors can show the same image differently because of variations in panel technology, brightness, colour temperature, gamma, colour gamut, and factory calibration.
For colour-critical work, consider monitors with appropriate sRGB, Adobe RGB, or DCI-P3 coverage and hardware calibration support.
Laptop Docking Setup
If you want to close the laptop lid while using external monitors, open:
Control Panel > Hardware and Sound > Power Options > Choose what closing the lid does
For the plugged-in state, select Do nothing.
Before using the laptop with the lid closed, check the manufacturer’s guidance. Some laptops use ventilation around the keyboard or display hinge and may run warmer in closed-lid mode.
What to Check Before Buying Dual Monitor Accessories
Video Cables
Choose a cable that supports the required resolution and refresh rate.
Very long cables, unnecessary extensions, and multiple adapters may reduce signal reliability.
USB-C Hubs and Docking Stations
Check simultaneous dual-display resolution, refresh rate, charging wattage, DisplayPort Alt Mode requirements, and DisplayLink compatibility.
A standard USB-C hub will not provide video output if the laptop’s port does not support video and the hub does not use DisplayLink.
Dual Monitor Arms
Check the following specifications:
- VESA mounting pattern
- Weight of each monitor
- Maximum arm load
- Supported monitor size
- Desk thickness
- Clamp or grommet installation
- Portrait rotation support
- Height adjustment range
- Cable management
KVM Switches
A KVM switch allows two computers to share displays, a keyboard, and a mouse.
For high-resolution or high-refresh-rate setups, confirm that the KVM supports your resolution, refresh rate, HDR, Display Stream Compression, and variable refresh rate requirements.
A switch labelled 4K may support only 4K at 30Hz, so check the full specification before purchasing.
Windows 11 Dual Monitor Setup Summary
A successful Windows 11 dual monitor setup is easiest when completed in the correct order:
- Confirm the available ports and display capabilities.
- Connect each monitor with a suitable cable.
- Select the correct monitor input.
- Choose Extend with Windows key + P.
- Identify and arrange the displays.
- Select the main monitor.
- Apply the recommended resolution.
- Adjust scaling independently.
- Set the correct refresh rate.
- Test window placement and mouse movement.
If Windows 11 does not detect the second monitor, check the power, input source, cable, and port before assuming that the display is defective.
Next, use manual detection, restart the graphics driver, install Windows updates, and inspect the graphics driver. Directly connecting the monitor can also reveal whether a hub, docking station, adapter, or KVM switch is causing the problem.
High-resolution and high-refresh-rate monitors need a compatible connection throughout the entire signal path. The graphics card, output port, cable, adapter, dock, and display must all support the chosen resolution and refresh rate.
Once the setup is complete, arrange documents, browsers, meetings, email, and communication tools across the two screens. If the mouse moves smoothly between displays and text appears at a comfortable size on both monitors, the essential configuration is complete.